
15 Smartphone Photography Tips to Instantly Level Up Your Shots (Even If You’re a Beginner!)
Share
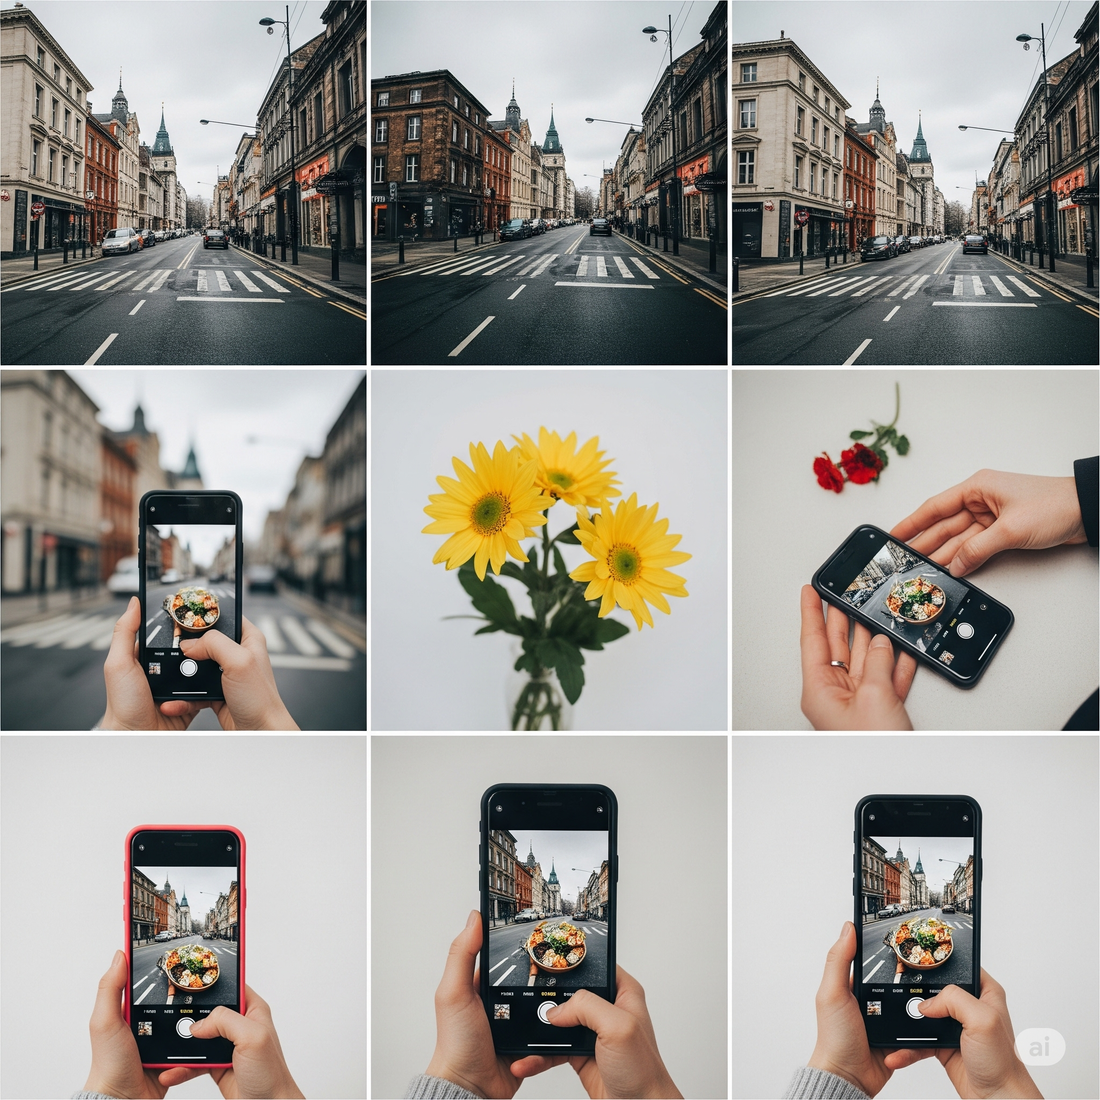
Gone are the days when you needed a fancy DSLR to take stunning photos. Today, your smartphone is a powerful camera—if you know how to use it right.
Whether you're capturing moments, creating content for your brand, or shooting product images for your Shopify store, these smartphone photography tips will help you take professional-looking shots using just your phone.
📷 1. Clean Your Lens
Sounds basic, but smudges from fingerprints can blur your shots.
👉 Always wipe your lens with a microfiber cloth before shooting.
🌞 2. Use Natural Light Whenever Possible
Natural light creates softer, more realistic photos.
✅ Golden Hour (shortly after sunrise or before sunset) is best.
💡 Avoid using your phone’s flash—it can cause harsh shadows and washed-out skin tones.
📏 3. Turn on the Grid (Rule of Thirds)
Most smartphones let you turn on a 3x3 grid in camera settings.
🔲 This helps you apply the Rule of Thirds—a classic composition technique.
🎯 Place your subject off-center to make the photo more dynamic and visually appealing.
🤳 4. Focus Manually & Adjust Exposure
Tap on your subject to focus. A small sun icon appears—slide it up or down to control brightness.
🎛️ This gives you more control than auto mode, especially in tricky lighting.
🔍 5. Use Portrait Mode for Depth
iPhones, Samsung Galaxy, and Pixels offer Portrait Mode which blurs the background (bokeh effect).
✅ Great for people, products, or anything you want to emphasize.
🚫 6. Avoid Digital Zoom
Zooming in digitally reduces quality.
Instead:
-
Get closer to the subject
-
Crop the photo later (you’ll retain better detail)
🧍 7. Use a Tripod or Stabilizer for Steady Shots
Even a mini tripod can prevent blurry photos.
🎥 For videos, consider a gimbal for smooth movement.
🎨 8. Experiment with Angles and Perspectives
Shoot from:
-
Low angles for dramatic effect
-
Top-down for flat lays
-
Through objects (like leaves or windows) for artistic framing
🧠 9. Think About Backgrounds
Avoid clutter. A simple background makes your subject pop.
🧺 Examples:
-
A white wall
-
A wooden table
-
A textured cloth
📲 10. Edit Your Photos Smartly
Use apps like:
-
Lightroom Mobile – for pro-level editing
-
Snapseed – for selective adjustments
-
VSCO – for mood filters
🎨 Don’t overdo it. Adjust lighting, contrast, sharpness, and color for a natural look.
📐 11. Use Leading Lines
Train tracks, fences, hallways, or even shadows can guide the viewer’s eye to your subject.
📸 It adds depth and storytelling to your photos.
🖼️ 12. Try HDR Mode for Landscape Photography
HDR (High Dynamic Range) captures more detail in bright and dark areas.
📷 Ideal for sunsets, architecture, and nature shots.
📱 13. Use Burst Mode for Action Shots
Hold down the shutter to take a rapid series of photos.
🏃 Great for sports, kids, or pets in motion.
🧑🎨 14. Apply Color Theory
Warm colors (red, yellow) draw attention; cool colors (blue, green) feel calm.
🎨 Use contrasting colors for pop—like a yellow shirt against a blue wall.
🌐 15. Shoot with the End Use in Mind
Are you shooting for:
-
Instagram? Use vertical (4:5)
-
Website banners? Use horizontal (16:9)
-
Product listings? Use square (1:1)
👉 Planning your aspect ratio saves time later!
📌 Bonus Tip: Use External Lenses
Clip-on lenses (macro, fisheye, wide-angle) can add creative possibilities to your phone camera.
💡 Brands like Moment or Apexel offer quality smartphone lenses.
📈 Final Thought
Smartphone photography is not about expensive gear—it's about knowing how to use what’s in your hand. With these practical tips, you’ll be shooting eye-catching images that wow your audience and elevate your brand.